Published 26 Jan 2018
Arduino μPD7228 driver library
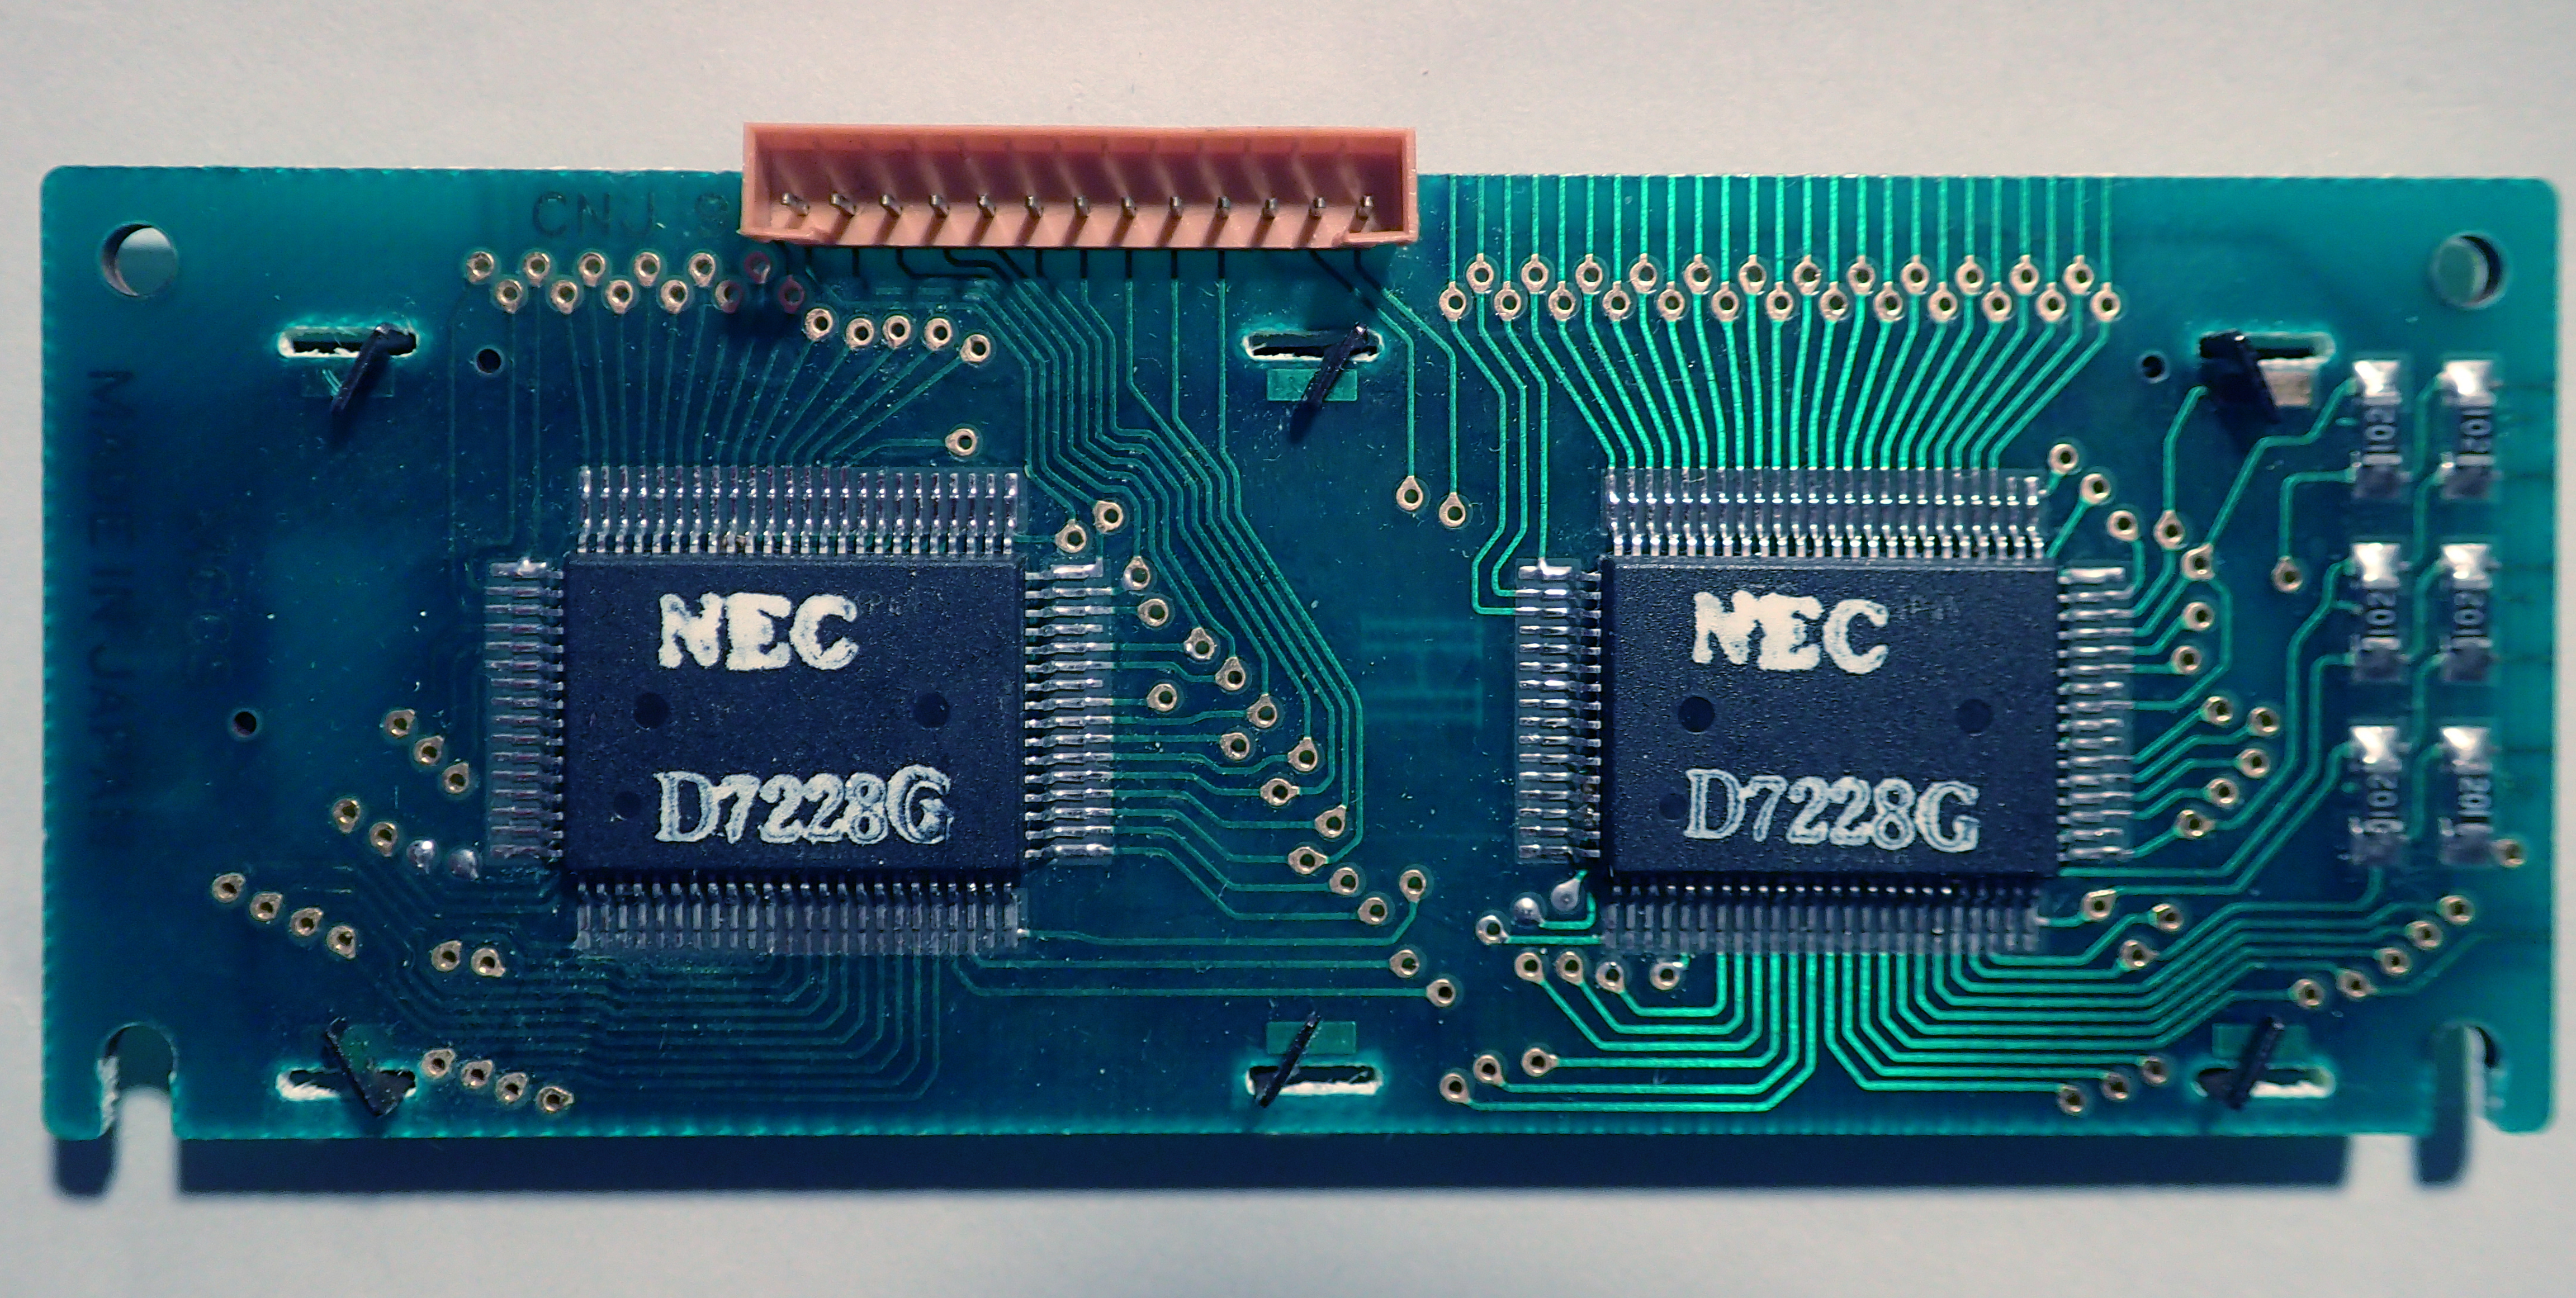
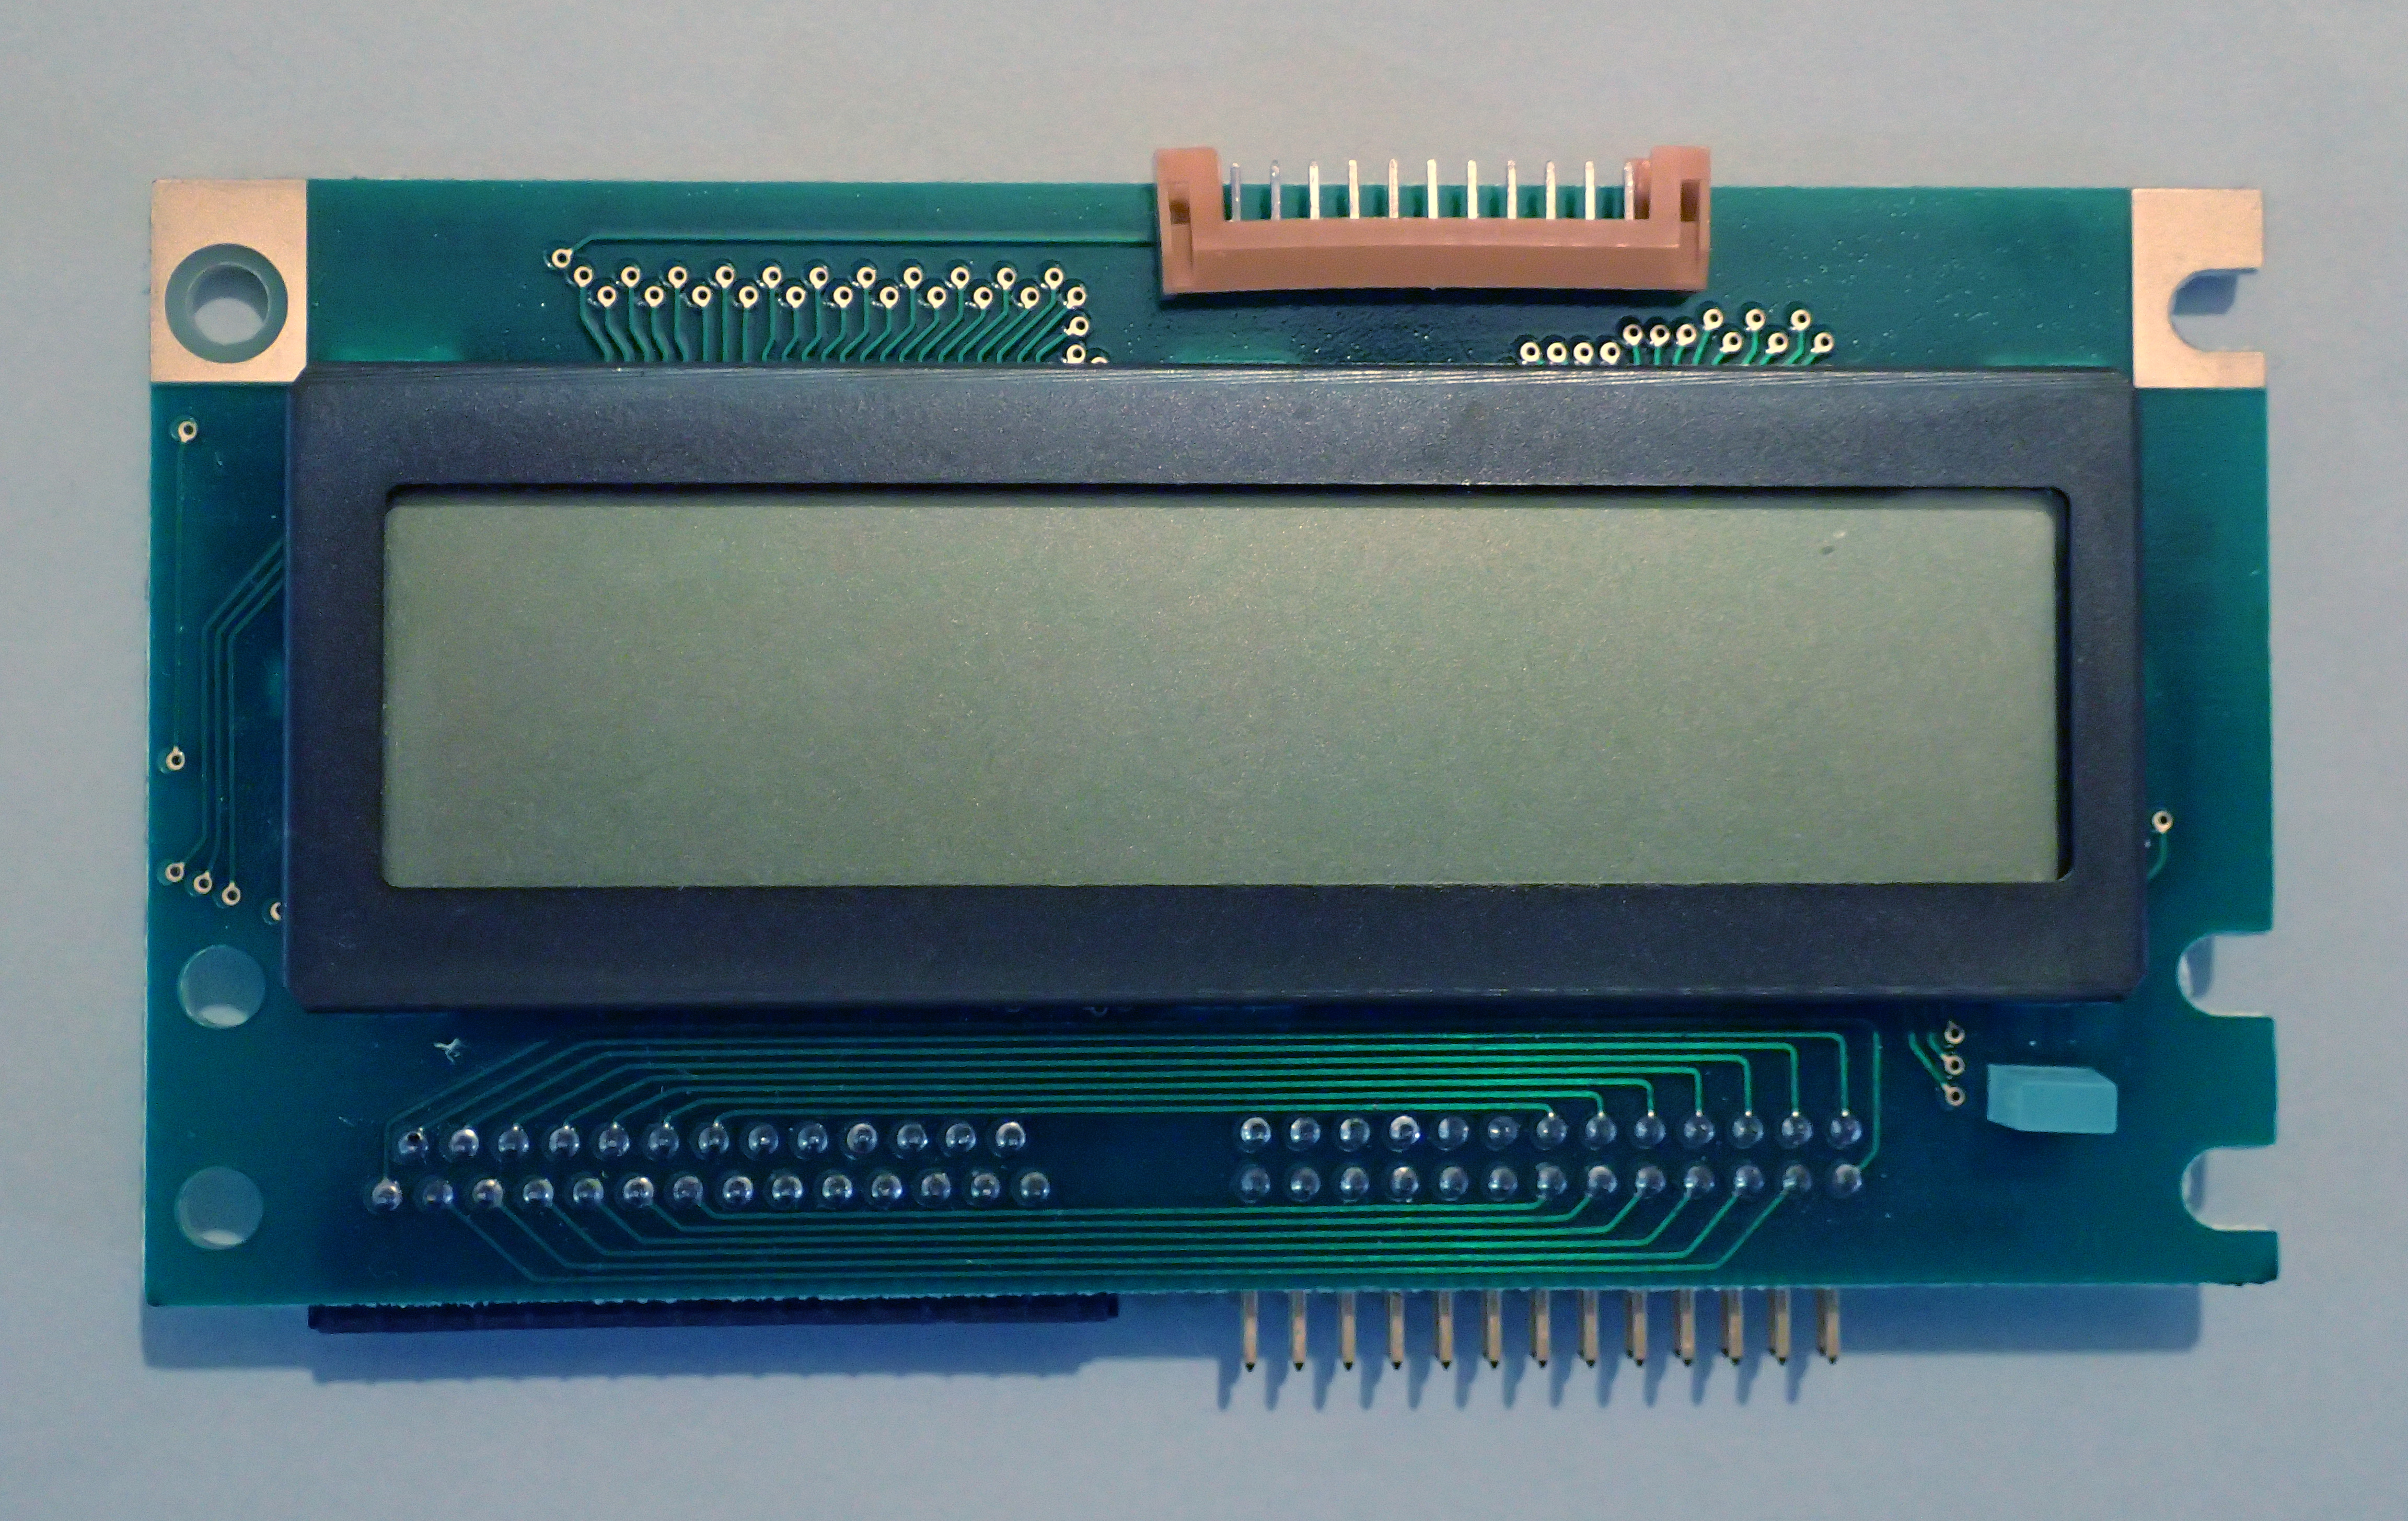
I have two LCD modules, recovered from now forgotten devices, that I wish to use in Arduino projects. These are 2 line by 20 character LCD status displays, controlled by two NEC μPD7228 controller chips.
Overview
I looked for an Arduino library that would talk to this chip-set, but failed to find one. I did find a small sample of code written by H. Imayuki (8 Mar 2010), dm2020.c for a 16f819 PIC controller, so used that to understand how to talk to these chips.
The μPD7228 chip is apparently superseded by the NEC μPD16434 and all the datasheets that I've found are for the μPD16434.
I based my library module for this on a standard Arduino library for the Hitachi HD44780 chip, LiquidCrystal.cpp. The programs included here are LCD_test.ino, LiquidCrystal_7228.cpp and LiquidCrystal_7228.h.
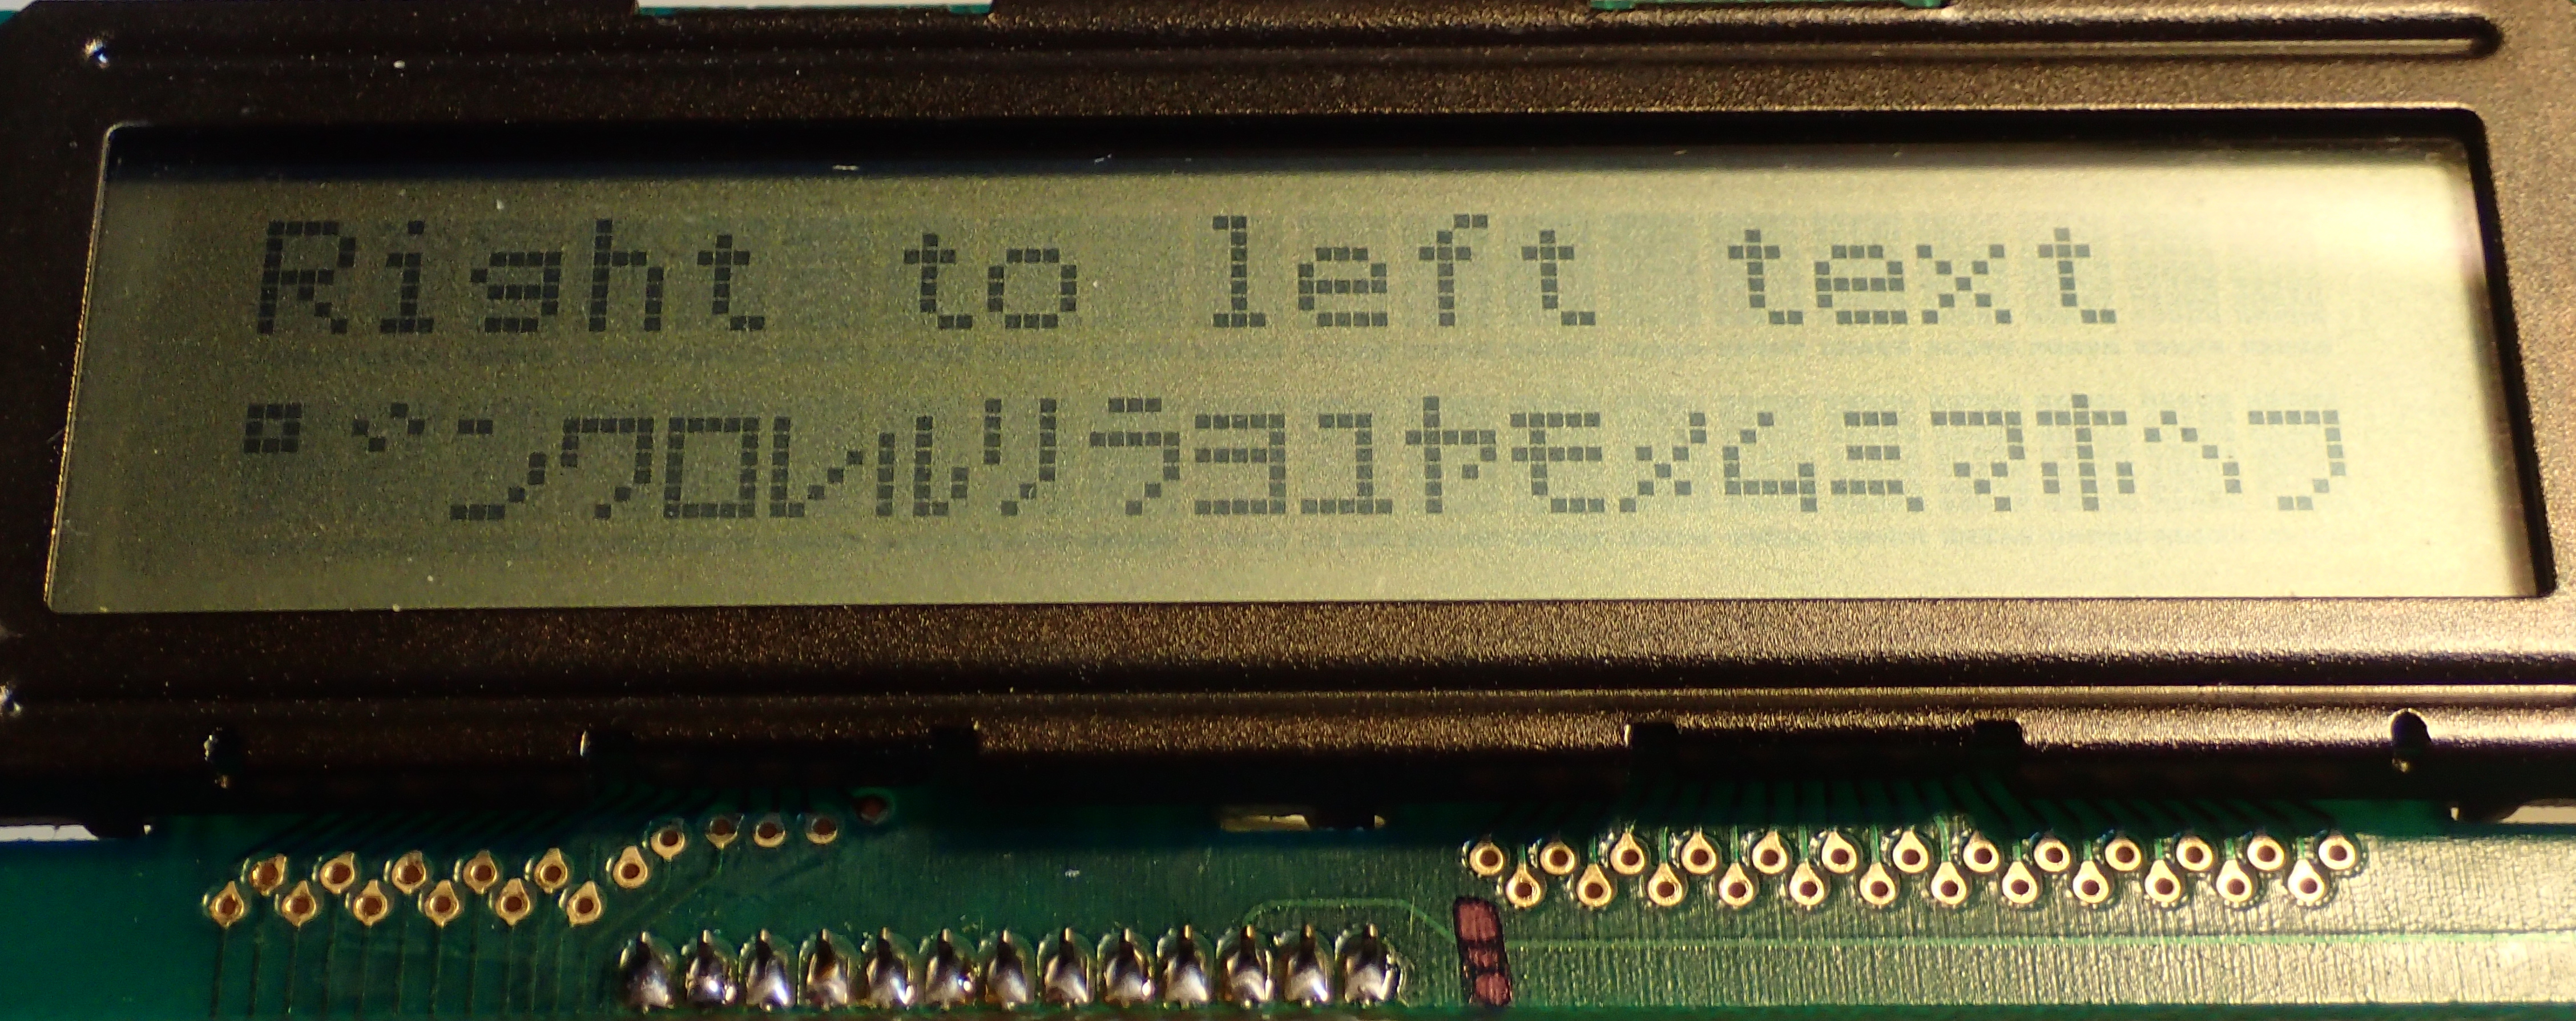
Unlike the HD44780, the μPD7228 does not support scrolling, blinking or programmable characters. I have implemented scrolling in this library, and you can blink the cursor by turning it on and off continuously.
Hardware description
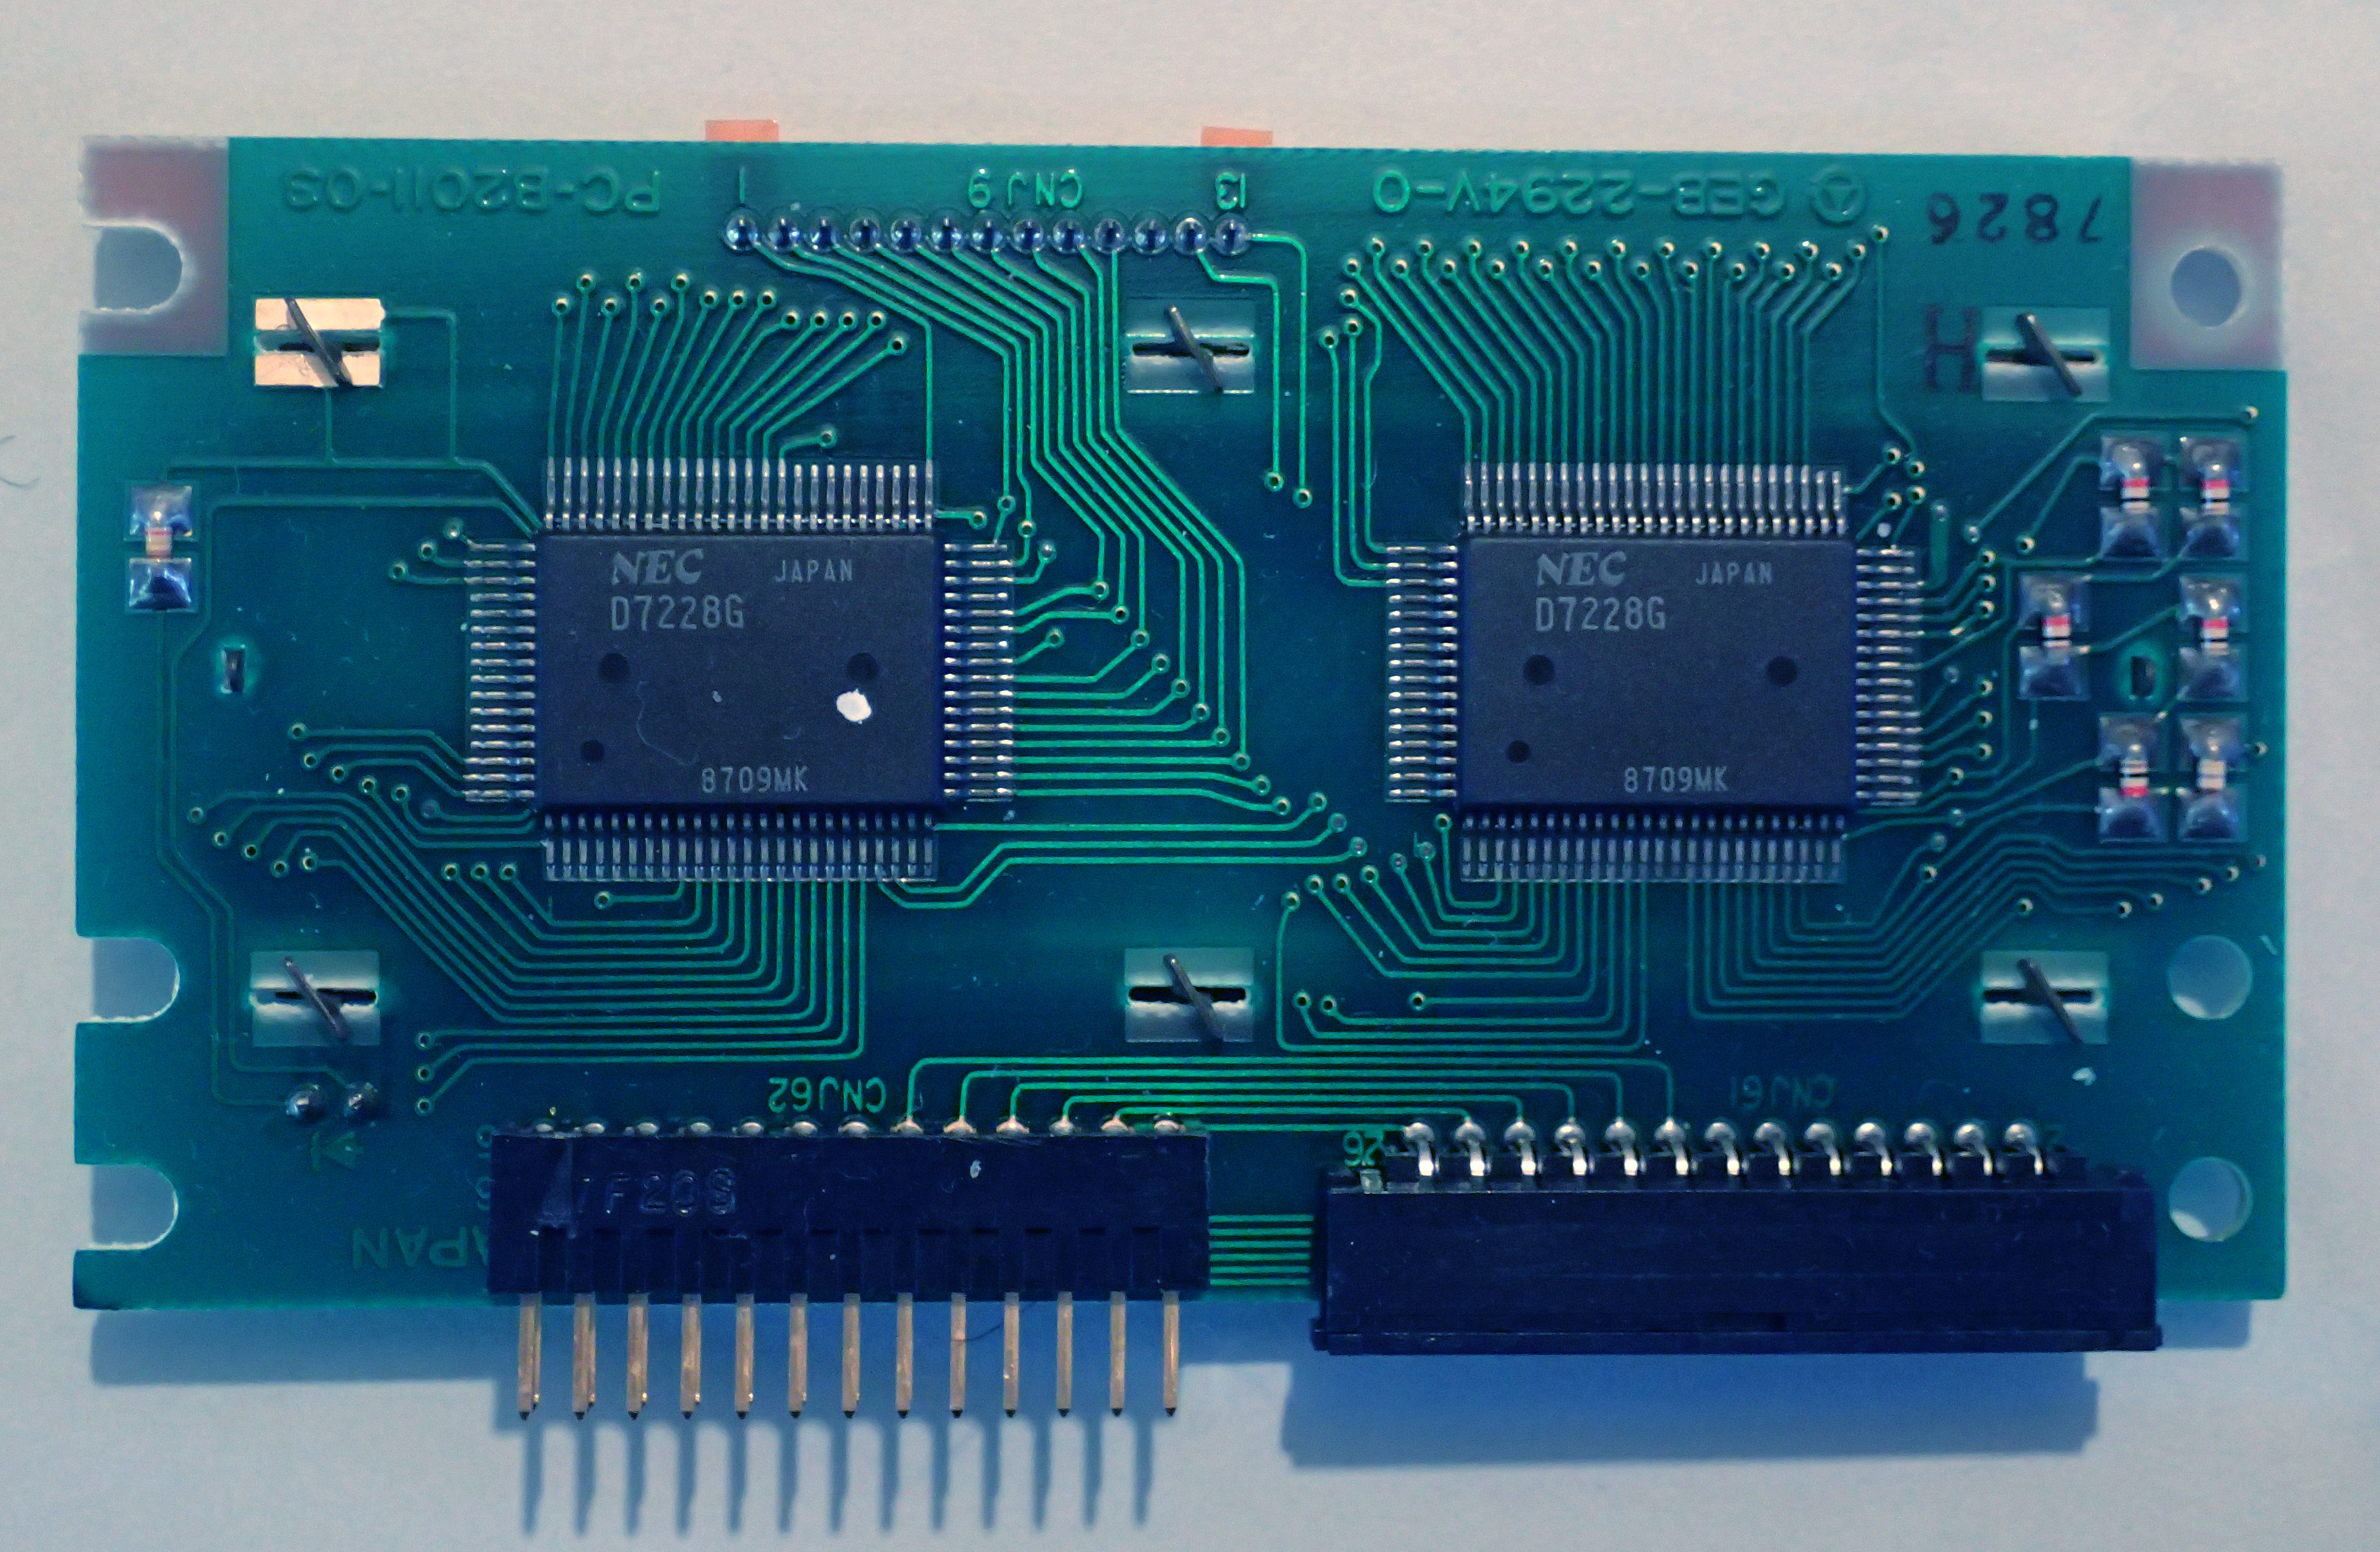
The controller consists of two μPD7228 chips, one acting as master, the second as slave. These are set up with hardwired addresses, the master is always 0x00. On the first board the slave was 0x01, on the second board it responded to 0x01 or 0x11. Each controls one half of the display. Viewed from the front of the display (with the chips not visible), the master (0x00) is on the left and controls the first 10 characters of both lines, and the slave is on the right and drives the second two rows of ten characters.
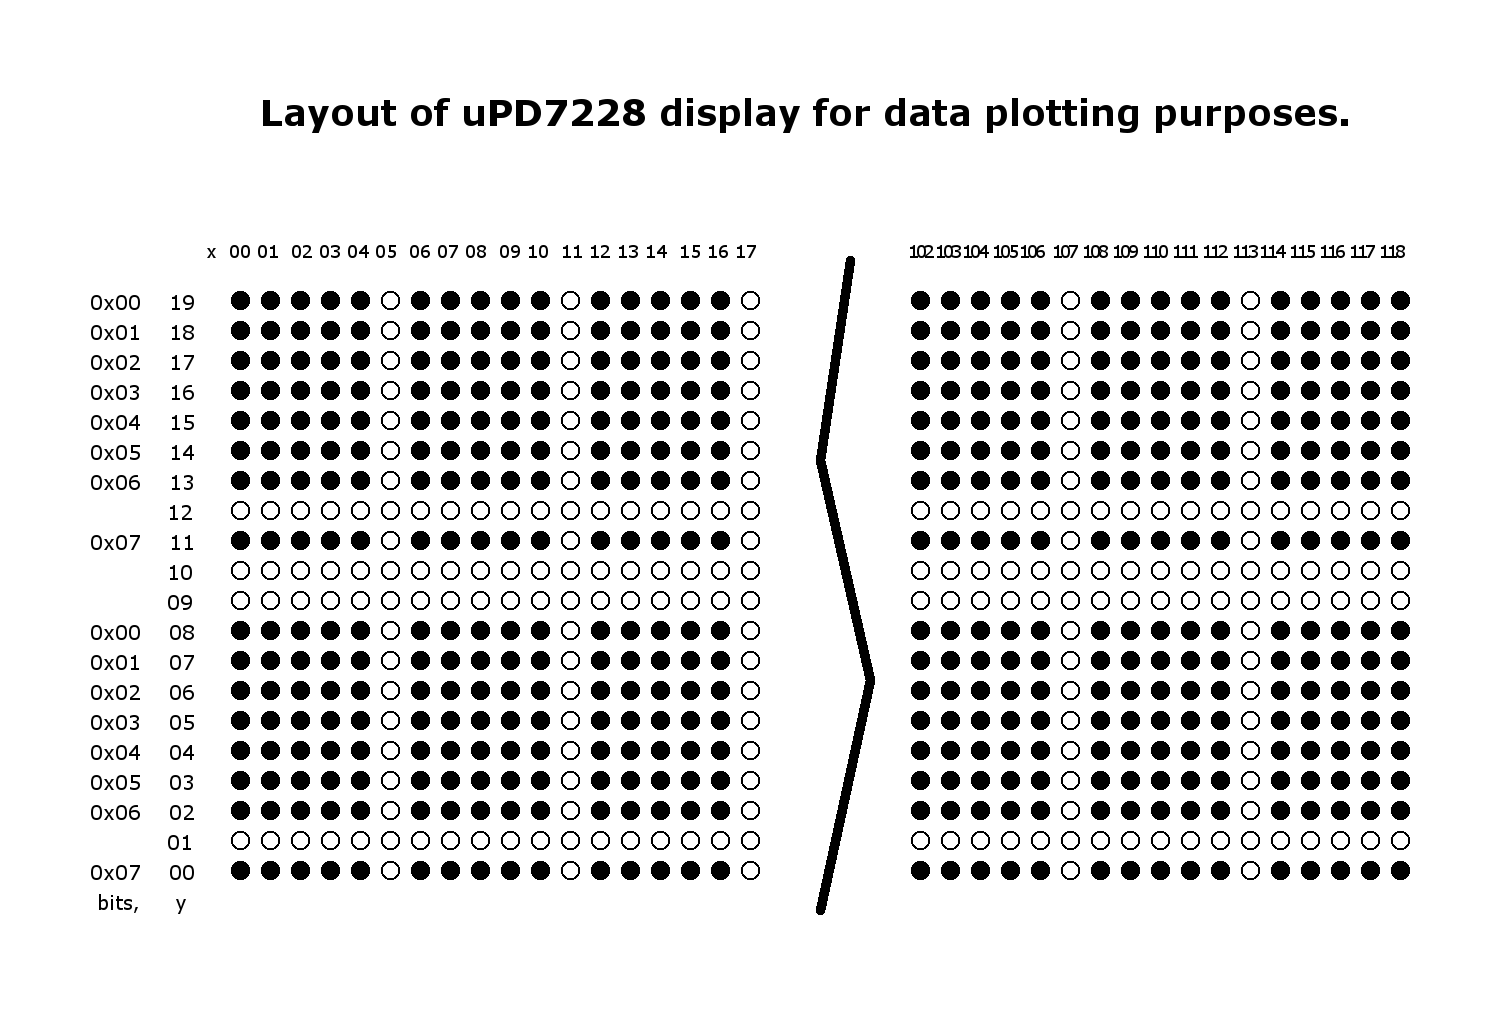
 The standard chips have a 5 by 7 pixel ASCII and Japanese (Katakana) character set, with a separate 8th underscore row for a cursor. The chip's bit memory is mapped directly to individual pixels, so that each displayed character is displayed from 5 consecutive bytes of ram. In character mode the chip fills those five bytes (well, seven bits of those bytes, the 8th being for a cursor line) from the inbuilt character ROM, and decrements the address pointer by 5. Columns of pixels are numbered from the left-hand address of 49, down to the right-hand address of 0 - hence they decrement addresses when they write from left to right (there is also a right-to-left entry mode if required). Additionally, there is a bit mode where you can either write a byte for each of the 50 columns, or set/reset individual bits in each column. The same memory pointer is used for both character and bit mode, so you can end up writing characters displaced from their character columns, ie written across the normal character boundaries - not very useful unless you wanted to create a super smooth scroll effect. The incomplete pixel field (gaps between character rows and columns) limit the use of the pixel addressing functions for plotting data pixels. There is potential for creating any arbitrary 5×7 character, though they'd have to be written to the display as 5x bytes of column data rather than characters. I can also envisage writing a module to create bar graphs etc.
Arduino to μPD7228 wiring
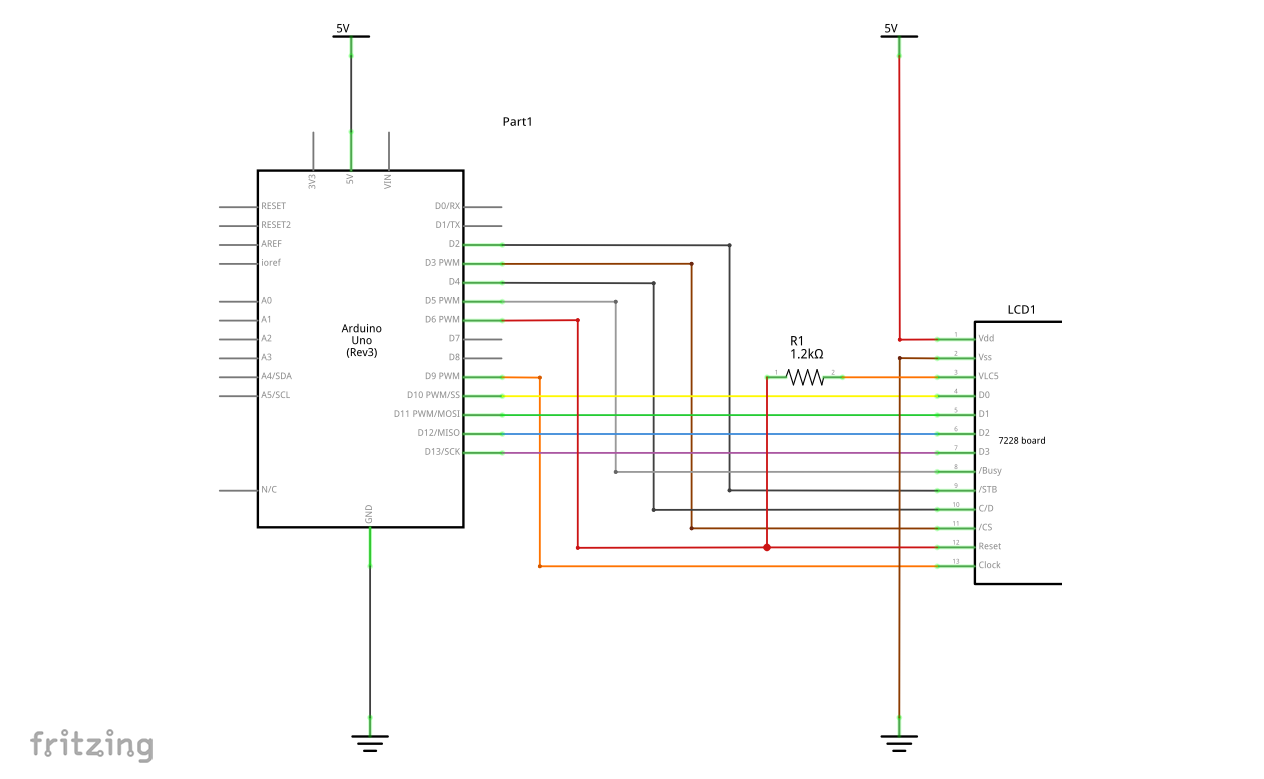
I haven't tried to optimize things at all, and ended up using ten Arduino control pins! The controls used are Clock, ChipSelect, Strobe, Busy, Command/Data, Reset and 4 Data lines.
The clock is a continuous 1MHz clock signal for the LCD, could be replaced with a dedicated oscillator. The reset signal has to be applied together with a data signal to tell the chips how to communicate (serial/parallel), it is used once at initialization so there may be better ways to implement reset and save using this pin. The chips are selected through data bus signals sent before chip commands/data so the chip select line could possibly be replaced with an always selected jumper. Four pins are used for the chip's 4 bit data interface, the library could be re-written to use the serial mode instead. Usage of the data Strobe and Command/Data pins can't be avoided. Finally, the busy pin is polled after each write to the chips, this could be ignored and replaced by suitable timeout delays.
According to the datasheet, having a resistor (R1) from the reset pin to VLC5 just serves to reduce current consumption from the voltage divider supplying the LCD voltage references - if reset is held high no current flows, when low (LCD running) the Arduino acts as a current sink for the voltage divider. It could equally well be connected to ground. Imayuki's example suggests a value of 680ohm to 1.5k, I expect this has an effect upon the LCD's contrast and could be replaced with a pot, but I haven't experimented with it as 1.2k gives reasonable results.
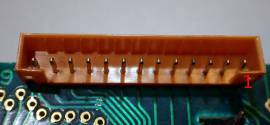 The 'MGCS' display module has a 13 pin connector with 2mm pin spacing, a plug fitting this was hand-wired to a connector with 2.5mm pins suitable for standard Arduino jumper hook-up wires. I used a multimeter to trace pins back to the chips to work out their designations. The essential thing is to get the power, Vdd (+5V) and Vss (GND) right or you are likely to do some damage. Often the GND is connected to the metal mounting for the LCD strip (frame ground), and the +5V can be traced to the anode of any power LED on-board. Generally every pin has to be connected correctly before anything will be displayed - wrong connections generally result in a blank display!
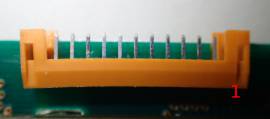 The second, 'GEB' module has the same type of 13 pin connector, but the edge connector pin assignments are transposed. So the function of pin 1 became pin 13, pin 2 became pin 12 and so forth. If the plug was symmetrical we could just rotate it 180 degrees, but it only fits in one way around, so reconnecting wires was necessary. The two edge connectors on the bottom edge of this module are just wired together and don't connect to the LCD circuit at all.
There was no particular reason for choosing the Arduino control pins used here, apart from the clock needing to come from a pin that supports PWM, and avoiding D0 and D1 which I assume are otherwise occupied if I use the serial monitor for debugging. The pins used are specified when invoking the init() routine through declaring an instance of the LiquidCrystal_7228 class, eg “LiquidCrystal_7228 lcd(5, 2, 3, 4, 6, 9, 10, 11, 12, 13)” (busy, strobe, chip_select, command/data, reset, clock, d0, d1, d2, d3).
7228 library
As mentioned earlier the library is based on a standard Arduino LiquidCrystal.cpp LCD library. My implementation of these functions is not 100% the same as how the HD44780 works. Also some functions have not been implemented at all as the μPD7228 chip has no support for them, and the size of the library was getting unreasonably large already. In fact it could probably be argued that such a library should just provide high-level access to the built-in functions of the hardware, and not try to emulate anything else. But my aim was to create something that could be used as a drop-in replacement for the displays commonly commercially available (I may have to tweak the routines to provide more compatibility with the HD44780 further down the track). The library keeps track of the cursor in terms of a column and row address, which it translates into a hardware address when required.
The functions implemented are:
- begin(col,row)
- Initializes the display, usually done once in a sketch's setup() routine.*1
- clear()
- Clears the screen of all pixels and homes the cursor.
- home()
- Sets the location for next data output (cursor location) to 0,0.
- setCursor(col, row)
- Set location for next character to be displayed.
- cursor()
- Show cursor at location ready for next character.
- noCursor()
- Turn off cursor display.
- scrollDisplayLeft()
- Scroll current line one character to the left.*2
- scrollDisplayRight()
- Scroll current line one character to the right.*2
- leftToRight()
- Normal Western language display mode where words are written starting at the left of the display.*3
- rightToLeft()
- Mode used for Japanese and other languages where characters are written starting at the right of the display.*2
- autoScroll()
- Automatically scroll when the cursor (whether visible or not) reaches the far edge of the display.*4
- noAutoscroll()
- Turns off autoscroll.
- lineWrap()
- If data is written off one edge of the screen it will appear at the other edge, this includes text scrolled off the edge.*5
- noLinewrap()
- Turn off line wrap mode, so if you write beyond the edge of the screen nothing is seen.
- dataMode()
- Turn on character write mode and turn off data plot mode.
- noDataMode()
- Turn off data plot mode and turn on character write mode.
- dataPlot(x,y)
- Plot a point on a 20 column by 2 line display, using it as an array of 119 by 20 dots (not all have visible pixels though).
- barGraph(x,row)
- Draw a horizontal bar graph on either line.
*1 This differs from HD44780 in that it does not have a third parameter for character size, and no testing of displays other than 20 cols x 2 lines, has been done.
*2 This differs from HD44780 in that it only scrolls the current line, and you can choose whether lines wrap back to the start of the display, or just insert spaces, by using the lineWrap(), noLinewrap() functions.
*3 This may differ from HD44780 in that the cursor positions are renumbered right to left in rightToLeft mode (ie far right of display is column “0”, and it may not work properly if you want to change left/right mode mid line.
*4 This differs from HD44780 in that it only scrolls the current line, and supports the wrap functions.
*5 This differs from HD44780 where characters written beyond the visible display are written into memory and will reappear depending upon the memory mapping.
I have implemented a graphics routine that allows plotting data on a 20 high by 119 wide pixel field. But because there are blank columns between characters without pixels, there are obvious gaps in any data plotted.
I have also implemented a horizontal bar graph routine that allows drawing a volume level type bar graph on either line.
The programs (v1.20):
- LCD_test.ino, sketch to test the LCD library
- LiquidCrystal_7228.h, NEC uPD7228 library
- LiquidCrystal_7228.cpp, NEC uPD7228 library
References and Additional Resources
- Datasheet for uPD7228 contained in the NEC 1990 Microcontroller Databook, page 8-21 (PDF page #844).
- The uPD7228 was superseded by the uPD16434, its datasheet contains a lot of useful information.
- DM2020, H.Imayuki's original information about using a “DM2020” uPD7228 based display, their program is here.
- Information about using Arduino PWM outputs is provided by arduino.cc at Arduino PWM.
Other Arduino LCD drivers
- KS0073 SPI LCD, LCD display panel Arduino driver
- METP0000, NEC µPD7225 based LCD display panel Arduino driver
- Canon MX300, Canon MX300/310 printer LCD display panel Arduino driver.
- SPI LCD, LCD display panel Arduino driver
- Toshiba T6A34 LCD display panel Arduino driver
If any referenced page no longer exists, try looking for its URL on http://archive.org.

