Published 12 Dec 2022
Capacitance Meter
Overview
There are many articles about measuring capacitance using an Arduino. In the simplest form they just measure the time to charge or discharge the capacitor with known voltage through a resistor. But some are elegant, requiring no additional components at all!. This concept seems a little ridiculous, but see the articles on Codewrite.co.uk by Jonathan Nethercott, linked to in the references section below. With a bit of inspired thinking and ideas from others an elegant solution to capacitance measurement was born. This approach needs some calibration as it depends upon values of internal stray capacitance and pull-up resistors in the Arduino, and may not even work for some types of Arduino (and clones).
Circuit description
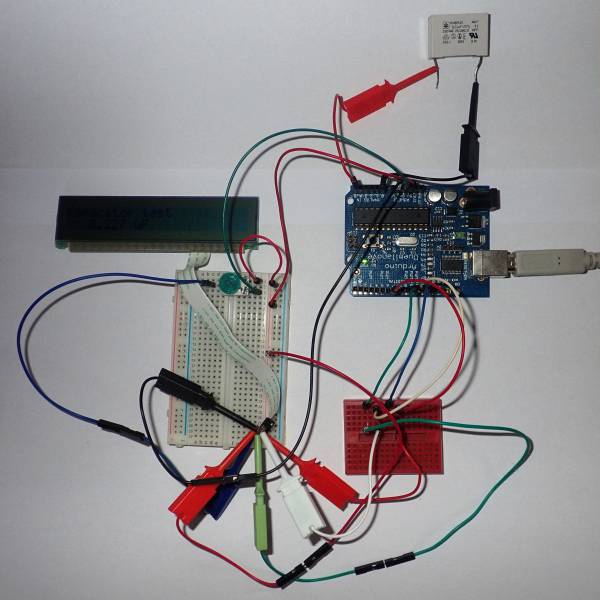
It hardly needs a hardware description in the respect that it just consists of an Arduino and a display. The only other component needed is anything that the display needs, in this case a 20k potentiometer for adjusting contrast of the LCD.
This design uses two different methods for measuring capacitance, and auto ranges between them depending upon the size capacitor that it encounters.
The first method is for small capacitors up to 1000pF (1nF), and measures the ratio between the unknown capacitor and a known one in series. The elegant part of this is that it uses the inbuilt stray capacitance of the Arduino as the “known” capacitor - this has the disadvantage of requiring calibration for the particular Arduino type used, but the advantage of not needing an external reference capacitor.
The second method, for larger capacitors 1nF to at least 10µF, is to charge up the capacitor under test through the Arduino's output's pull-up resistor and evaluate the time to charge it. And thereby calculate the capacitor's capacity. Again this needs calibration, but has the advantage of not needing additional components.
Parts list
- Arduino Duemilanove (essentially the UNO with a different USB interface).
- LCD, VLGEM1021-09 from a Siemens optiPoint 500 economy phone.
- 20k pot
To test out the viability of this approach I constructed a basic implementation using an Arduino Duemilanove.
Here is my initial program cobbled together from Jonathan's code and a driver for a serial LCD (not elegant!) :
Capacitor meter code for Arduino UNO and KS0073 display.
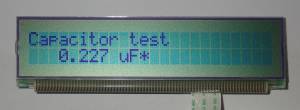
The meter is auto-ranging from a few pF to about 100µF. I've made the output routine a little more complicated than really needed by displaying values in micro Farads from 0.1µF to 100µF, nano Farads from 1nF to 100nF, and pico Farads from 1pF to 1000pF.
So that's proof of concept. A pretty simple project, but very useful as I've never had a meter to measure capacitance. Many of the LCD display modules have external capacitors, mainly for the negative charge pump circuits for the LCD drive, now I'll have a way to find out what value they are.
Next will be to mount this in an enclosure, perhaps an old multi-meter body, to make it a bit more rugged than a test-bench circuit.


